
Hatching chicken eggs can be a rewarding and educational experience for beginners and experienced chicken keepers alike. This comprehensive guide will cover everything you need to know to successfully incubate and hatch your own chicks, from selecting an incubator and obtaining fertilized eggs to providing proper care for the newly hatched chicks.
Obtaining and Preparing Fertilized Eggs
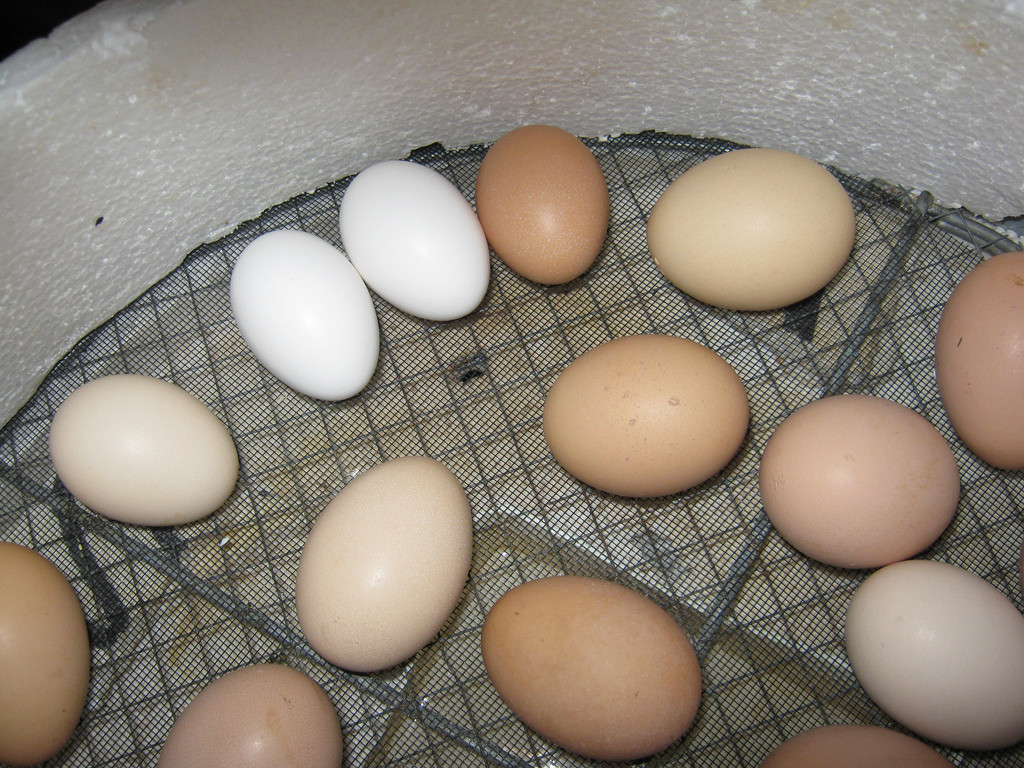
Before you can begin the hatching process, you will need to obtain fertile eggs. You can collect eggs from your own flock, provided you have a rooster to fertilize them.
Alternatively, you can buy eggs from friends, breeders, or hatcheries. When selecting eggs for incubation, choose those with uniform size, shape, and shell quality. Avoid eggs with hairline cracks or deformities.
Once you have your eggs, handle them with care. Washing eggs is not recommended, as it can remove the protective bloom, which can lead to bacteria entering the egg. If you need to clean the eggs, gently wipe them with a dry, clean cloth or use a specialized egg cleaner if absolutely necessary.
Incubator Selection and Setup
Selecting the right incubator is crucial for a successful hatch.
Incubators come in various types, with still-air and forced-air incubators being the most common.
Still-air incubators require manual adjustments and close monitoring, while forced-air models often have built-in fans and thermostats for better temperature regulation.
If you want to learn more about these types of incubators, check out the YouTube video below.
Essential features to consider when choosing an incubator include:
- accurate temperature and humidity control
- proper ventilation
- egg-turning mechanism
Some incubators come with built-in hygrometers and automatic egg turners, while others require manual adjustments.
Once you have chosen an incubator, set it up in a location with minimal temperature fluctuations and away from direct sunlight. Prepare the incubator by setting the temperature to the recommended levels, typically 99.5°F (37.5°C) for forced-air models and 101.5°F (38.6°C) for still-air models.
Ensure proper humidity levels, usually between 40-50% for the first 18 days of incubation.
Incubating the Eggs
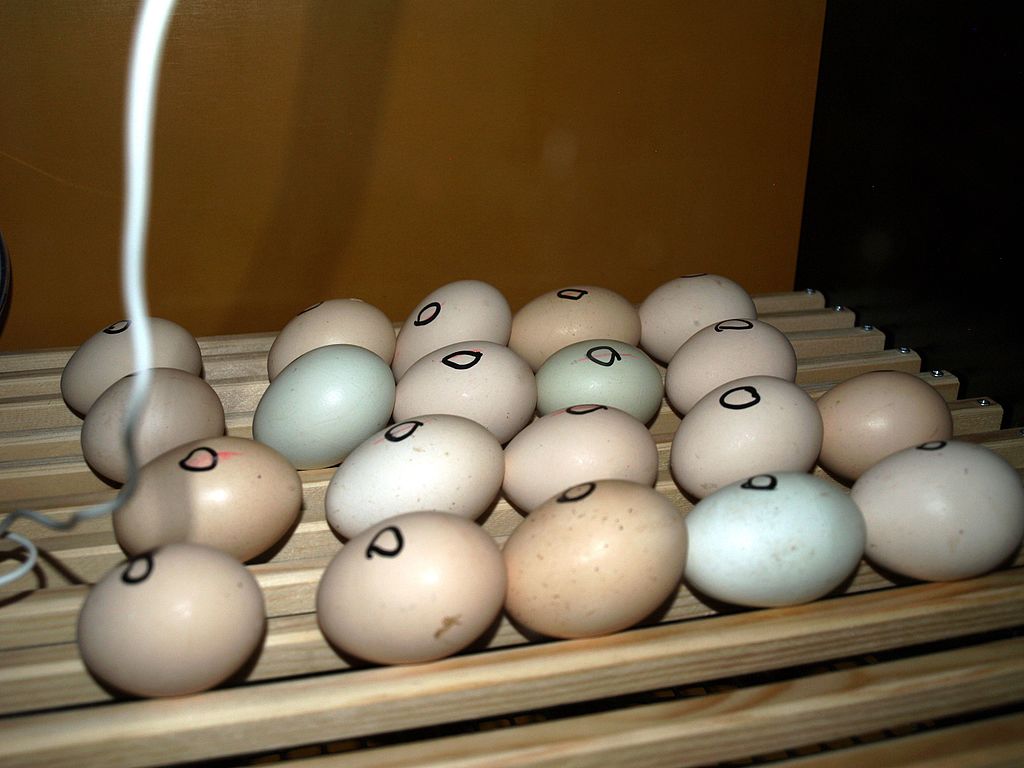
Place the eggs in the incubator, positioning them with the larger end up.
Mark the eggs with a non-toxic marker (an X on one side and an O on the other) to track turning progress.
Turn the eggs at least three times a day, either manually or using an automatic egg turner, to prevent the developing embryo from sticking to the shell.
Monitor and adjust the temperature and humidity levels as needed throughout the incubation period. Temperature fluctuations can negatively impact the hatch rate, so it’s crucial to maintain a stable environment.
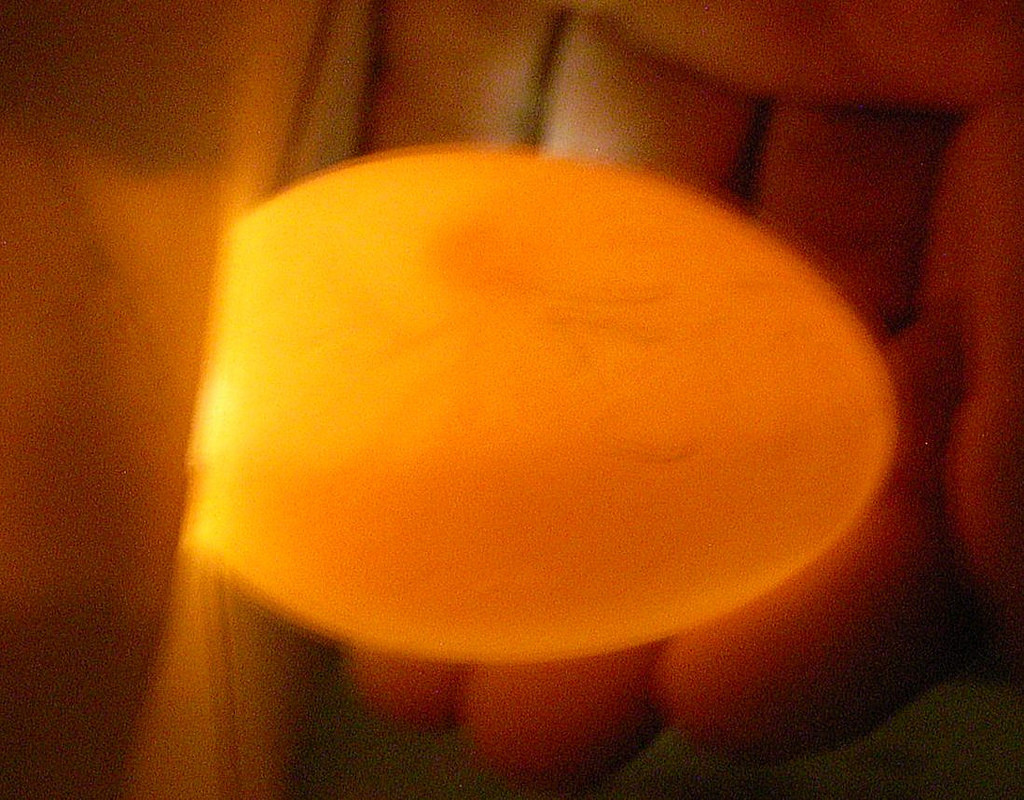
Candling the eggs around days 7-10 and days 14-16 allows you to check the development and remove any non-viable eggs. To candle the eggs, use a bright light in a dark room to illuminate the interior of the egg. Look for signs of development, such as blood vessels and a growing embryo, and discard any eggs that show no progress or have a rotten smell.
Lockdown and Hatching
On day 18, the lockdown period begins.
Stop turning the eggs and increase the humidity inside the incubator to around 65-70%.
This increased humidity helps soften the shell, making it easier for the chick to hatch.
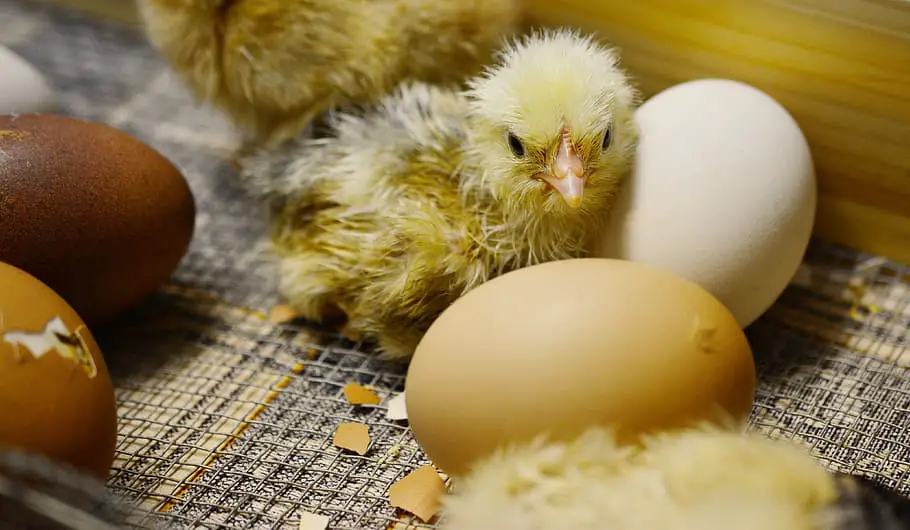
Around day 21, you should begin to notice signs of hatching, such as pipping (a small hole or crack in the shell) and peeping sounds from inside the egg.
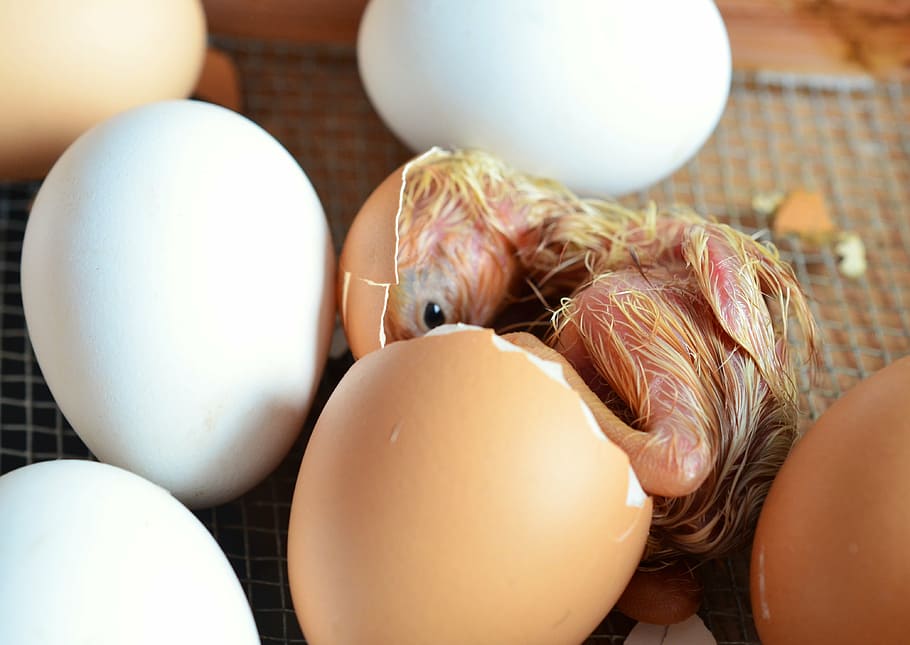
It’s important to allow the chicks to hatch naturally and resist the urge to intervene.
Hatching can take up to 24 hours or more, and opening the incubator during this time can cause a drop in humidity, making it more difficult for the remaining chicks to hatch.
Some chicks may struggle to hatch or appear stuck in their shells. While it may be tempting to help, only intervene as a last resort, as assisting too early can cause harm to the chick. If you decide to help, gently remove small bits of the shell, ensuring not to tear the membrane, and allow the chick to finish the process on its own.
Post-hatch Care and Clean Up
Once all the chicks have hatched, give them time to dry and fluff up inside the incubator.
This may take several hours. Afterward, transfer them to a prepared brooder with a heat source, such as a heat lamp or heating pad, set at around 95°F (35°C) for the first week. Gradually decrease the temperature by 5°F (3°C) per week until the chicks are fully feathered and can maintain their own body heat.
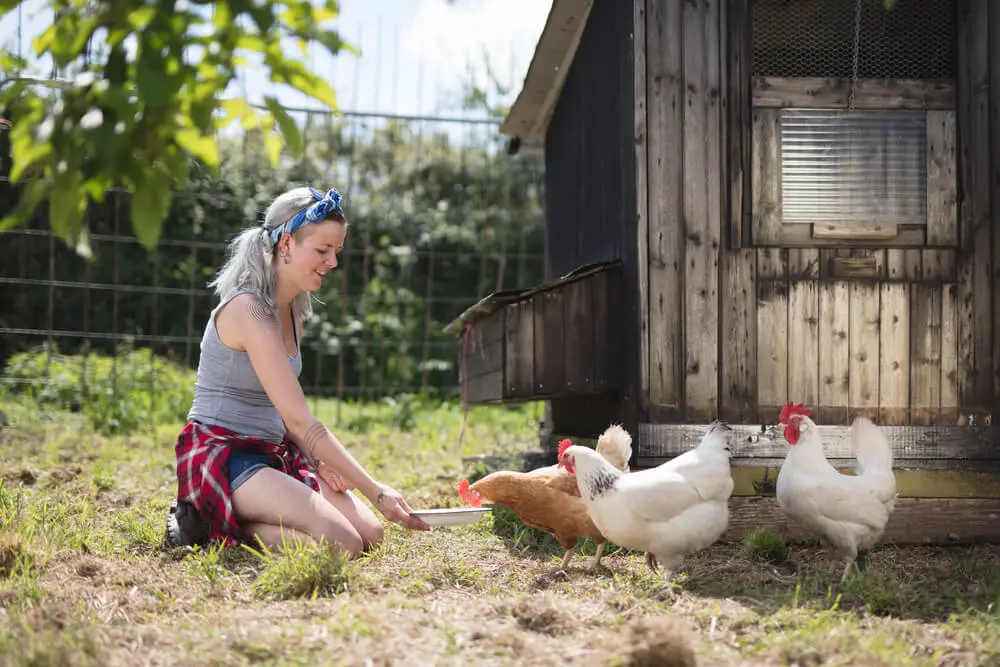
Provide fresh water and chick starter feed for your new chicks, ensuring that both are easily accessible. Monitor the chicks for any health issues and address any concerns promptly.
After hatching, it is essential to thoroughly clean and disinfect the incubator to prevent the spread of bacteria and disease. Remove all debris, such as eggshells and fluff, and wash the incubator’s surfaces with a mild detergent or specialized incubator cleaner.
Rinse well and allow the incubator to dry completely before storing it away for future use.
Resources and FAQs
To further your knowledge and provide additional support, consult resources such as books, online forums, and local chicken-keeping communities(join our Facebook group with over 40,000 members).
These resources can offer valuable information on raising and caring for chicks and help address any concerns you may have during the hatching process.
Common questions about hatching eggs include:
How long does it take for an egg to hatch? Typically, chicken eggs take 21 days to hatch. However, some may hatch slightly earlier or later.
Do all the eggs hatch at once? No, hatching can occur over several hours or even days. Patience is key during this time.
How can I tell if an egg is fertile? Candling eggs during incubation can help determine fertility and embryo development.
How do I maintain proper humidity and temperature levels? Use a hygrometer and thermometer to monitor conditions inside the incubator, adjusting as necessary.
Conclusion
Hatching chicken eggs is an exciting and rewarding process that requires patience, care, and attention to detail.
By following the guidelines outlined in this beginner’s guide, you can increase your chances of a successful hatch and enjoy the satisfaction of raising healthy chicks.
Remember, practice makes perfect, and with each hatching experience, you will gain knowledge and confidence in your chicken-keeping abilities.
Shannon Stansberry has been engaged in the business of raising chickens for more than 12 years. In 2016, she accomplished the Agriculture & Natural Resources program at Mt. San Antonio College. At present, she tends to more than 80 chickens on her 4-hectare farm. Shannon regularly shares her insights and experience on how to raise healthy and contented chickens on the platform Typesofchickens.com
