In the dynamic world of chicken keeping, enthusiasts are embracing creativity and hands-on projects like never before.
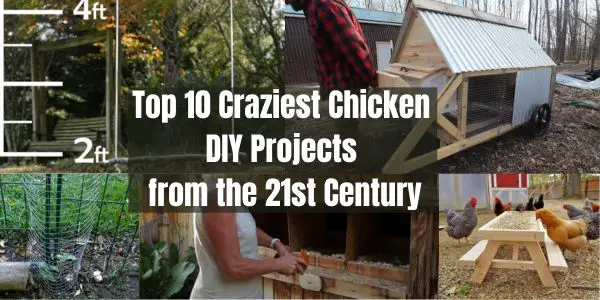
The 21st century has ushered in a wave of innovative do-it-yourself ventures for chickens, spanning from practical solutions to whimsical accessories. In this comprehensive guide, we’ll explore the top 10 craziest chicken DIY projects that have gained popularity in the modern era.
Each project includes detailed step-by-step guides, empowering chicken keepers of all levels to embark on these unique endeavors.
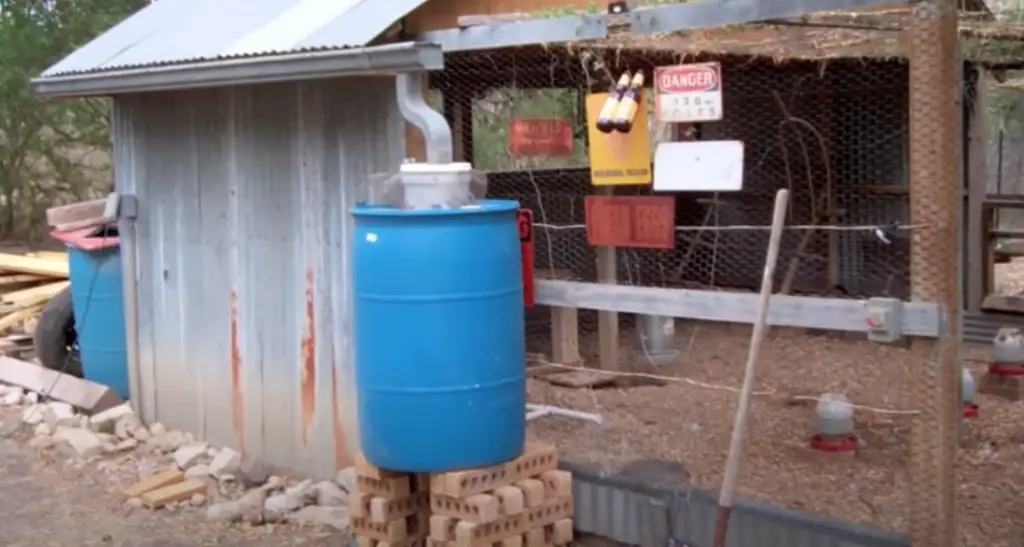
1. Automatic Chicken Watering System with Rainwater Harvesting
Materials:
- Large water container/barrel
- PVC pipes and connectors
- Chicken watering nipples
- Mosquito screen
- Hose and fittings
- Rain gutter system
- Drill
Steps:
- Set Up Rainwater Collection:
- Install a rain gutter system to collect rainwater from your coop roof.
- Direct the water into a large container or barrel.
- Construct PVC Piping Framework:
- Create a frame using PVC pipes to support the watering system.
- Ensure the frame is securely attached to the coop structure.
- Install Chicken Watering Nipples:
- Drill holes in the PVC pipes and insert chicken watering nipples.
- Ensure a secure fit to prevent leaks.
- Connect Pipes to Rainwater Barrel:
- Attach the PVC pipes to the rainwater barrel, creating a gravity-fed system.
- Use hose and fittings as needed.
- Secure Mosquito Screen:
- Cover the rainwater barrel opening with a mosquito screen to prevent debris and insects.
- Test and Adjust:
- Test the system to ensure proper water flow.
- Adjust the height of the watering nipples to match the chickens’ comfort level.
- Regular Maintenance:
- Periodically clean the system and ensure proper functioning.
- Monitor water quality for the health of your chickens.
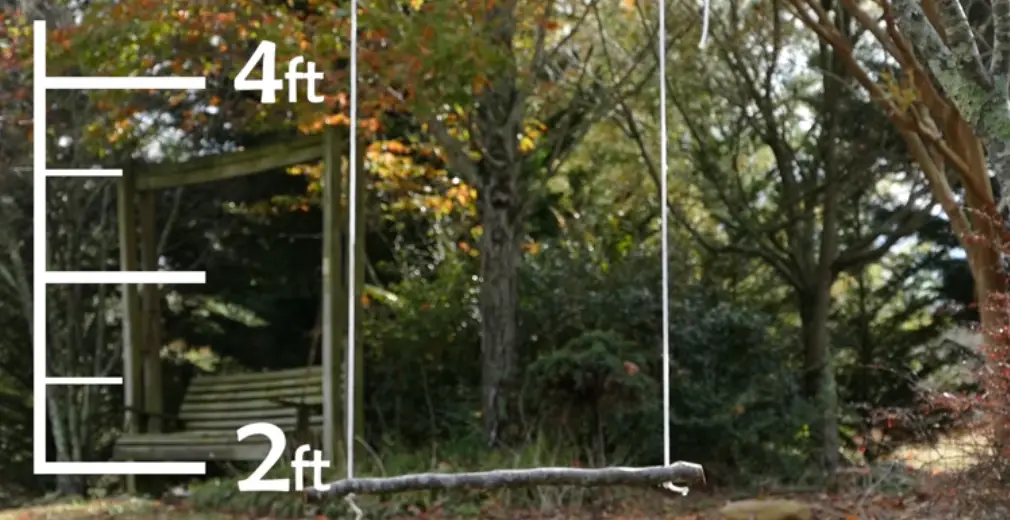
2. Chicken Swing for Entertainment and Exercise
Materials:
- Sturdy wooden plank
- Strong rope or chains
- Drill with bits
- Screwdriver
- Eye bolts
- Sandpaper
- Non-toxic paint (optional)
Steps:
- Select and Prepare the Wooden Plank:
- Choose a wooden plank of suitable size and thickness.
- Sand the plank to create a smooth surface.
- Drill Holes for Eye Bolts:
- Drill holes at each end of the plank for the eye bolts.
- Attach Eye Bolts:
- Insert eye bolts through the drilled holes and secure tightly with a screwdriver.
- Measure and Cut Rope or Chains:
- Determine the desired length for the swing.
- Cut two equal lengths of rope or chains.
- Attach Rope or Chains to Eye Bolts:
- Tie one end of each rope or chain securely to the eye bolts.
- Hang the Swing:
- Suspend the swing from a sturdy structure.
- Adjust the height based on your chickens’ preferences.
- Paint (Optional):
- Optionally, add non-toxic paint or stain for decoration.
- Allow paint to dry before introducing chickens to the swing.
- Introduce Chickens to the Swing:
- Encourage chickens to use the swing by placing treats on it.
- Monitor their reaction and gradually introduce them to swinging.
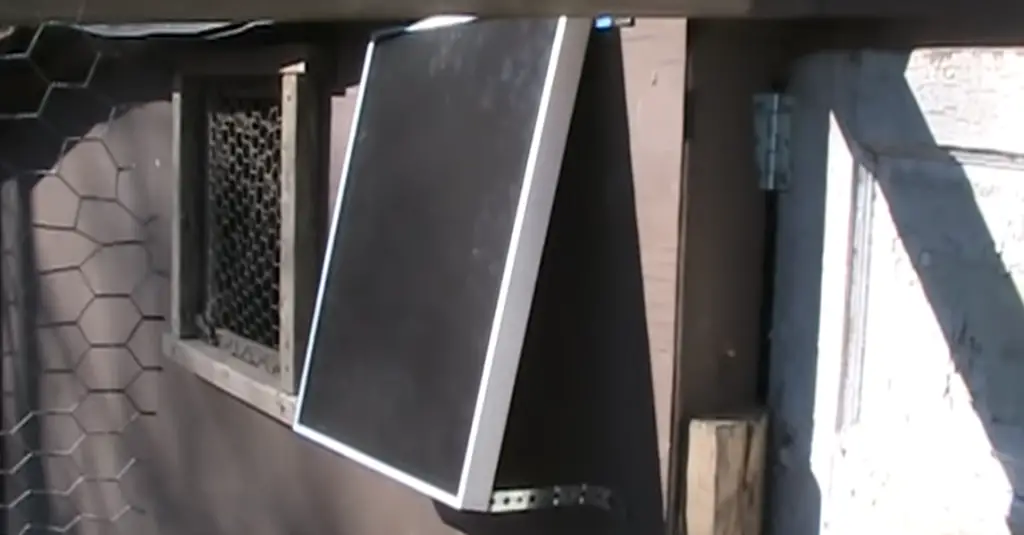
3. Solar-Powered Chicken Coop Heater
Materials:
- Solar panels
- Deep cycle battery
- Inverter
- Heat source (ceramic heat emitter or heated panels)
- Thermostat
- Wiring and connectors
Steps:
- Install Solar Panels:
- Set up solar panels in an area that receives ample sunlight.
- Connect panels to a deep cycle battery.
- Connect Inverter:
- Connect an inverter to the battery to convert DC to AC power.
- Select Heat Source:
- Choose a suitable heat source, such as a ceramic heat emitter or heated panels.
- Install Thermostat:
- Install a thermostat to control the temperature within the coop.
- Connect Wiring:
- Connect wiring between the solar-powered system, battery, inverter, and heat source.
- Test and Adjust:
- Test the system to ensure the heat source operates as intended.
- Adjust the thermostat to maintain the desired temperature.
- Regular Maintenance:
- Monitor battery levels and solar panel efficiency.
- Perform regular checks to ensure all components are functioning.
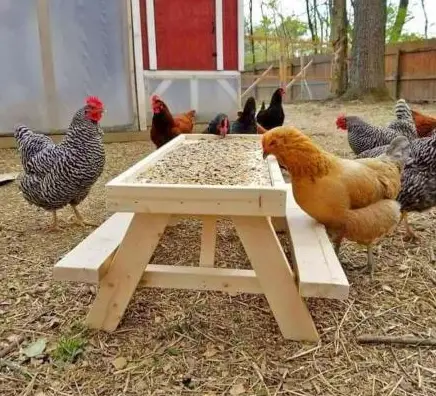
4. Chick-Nic Table for Outdoor Dining
Materials:
- Small wooden table
- Outdoor paint or sealant
- Chicken-friendly treats and snacks
Steps:
- Select a Suitable Table:
- Choose a small, sturdy wooden table suitable for your flock.
- Paint or Seal the Table:
- Paint the table with outdoor paint or sealant to protect it from the elements.
- Designate a Chick-Nic Area:
- Set up the Chick-Nic Table in a secure and accessible outdoor area.
- Place Treats on the Table:
- Regularly place chicken-friendly treats and snacks on the table.
- Monitor Chickens’ Behavior:
- Observe how your chickens interact with the Chick-Nic Table.
- Ensure treats are appropriate for their diet.
- Adjust Placement as Needed:
- Move the table to different areas of your yard to provide variety.
- Avoid placing it in direct sunlight for extended periods.
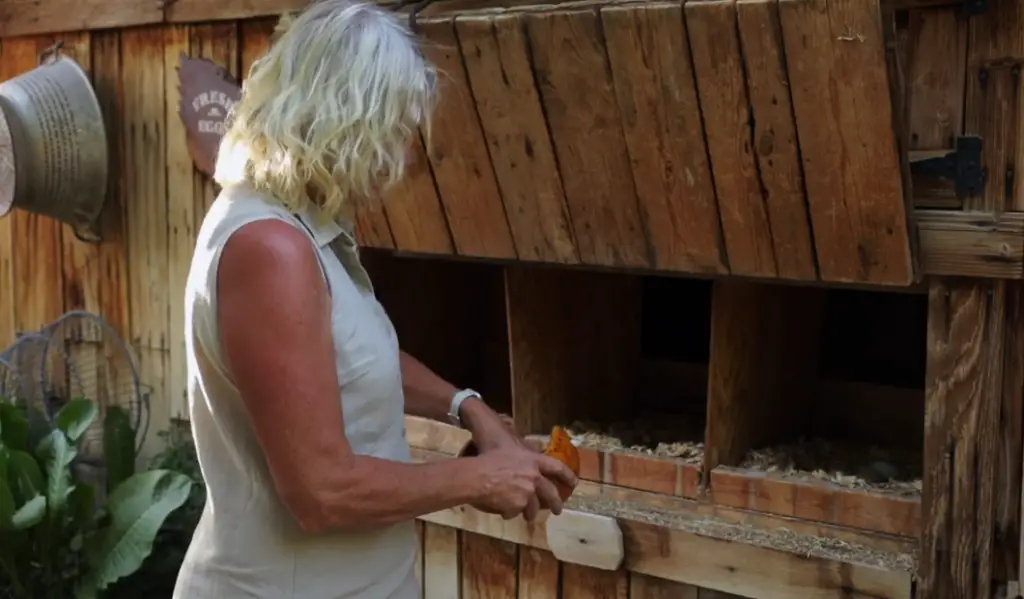
5. Herb-Infused Nesting Box Liners for Aromatherapy
Materials:
- Aromatic herbs (lavender, mint, chamomile, etc.)
- Muslin or breathable fabric
- Scissors
- String or rubber bands
Steps:
- Select Aromatic Herbs:
- Choose herbs known for their calming properties, such as lavender or chamomile.
- Ensure the herbs are safe for chickens and have aromatherapeutic benefits.
- Prepare the Herbs:
- Harvest or purchase fresh herbs and allow them to dry partially.
- Cut Fabric Pieces:
- Cut muslin or breathable fabric into squares or rectangles.
- Place Herbs on Fabric:
- Lay a handful of dried herbs in the center of each fabric piece.
- Create Herb Sachets:
- Bundle the herbs in the fabric and secure them with string or rubber bands.
- Install in Nesting Boxes:
- Place the herb sachets in your nesting boxes, ensuring they’re not in direct contact with eggs.
- Replace as Needed:
- Monitor the condition of the herb sachets and replace them periodically.
- Observe Chicken Behavior:
- Watch how your chickens respond to the herbal nesting box liners.
- Ideally, the calming scents should create a comfortable nesting environment.
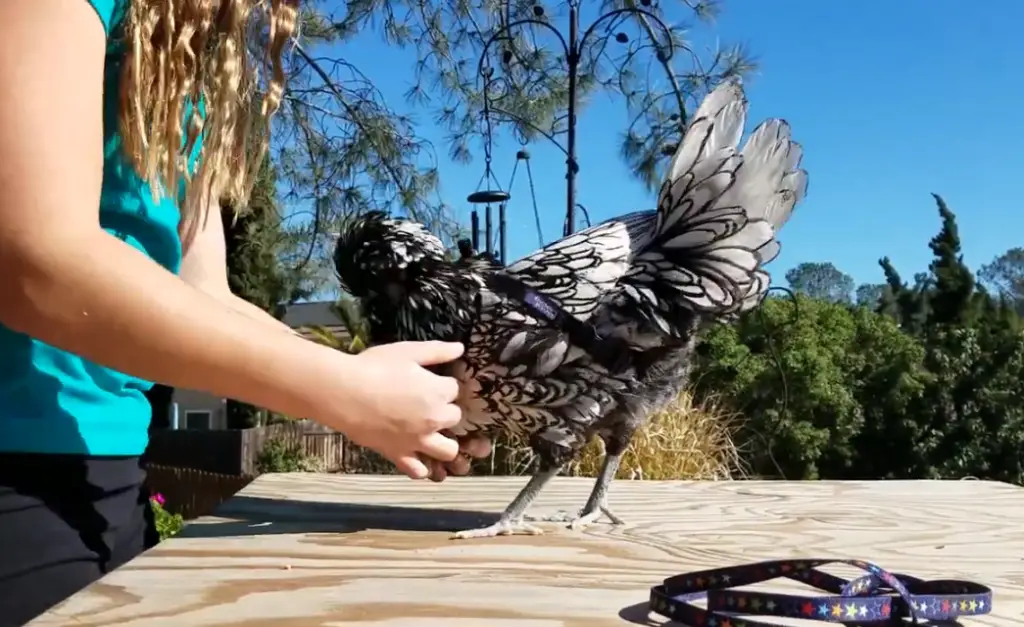
6. DIY Chicken Harness and Leash
Materials:
- Soft fabric (non-toxic and washable)
- Velcro strips
- D-rings
- Buckle or clasp
- Sewing machine or needle and thread
Steps:
- Measure and Cut Fabric:
- Measure your chicken’s body for the harness.
- Cut a soft, non-toxic fabric to the appropriate size.
- Attach Velcro Strips:
- Sew or attach Velcro strips to the edges of the fabric for adjustable sizing.
- Add D-rings:
- Attach D-rings to the harness for securing the leash.
- Add Buckle or Clasp:
- Install a buckle or clasp for easy application and removal.
- Adjust for Comfort:
- Ensure the harness fits snugly but comfortably on your chicken.
- Avoid any tightness that could restrict movement or cause discomfort.
- Introduce the Harness Gradually:
- Allow your chicken to become accustomed to the harness in short sessions.
- Use treats to associate positive experiences with wearing the harness.
- Attach the Leash:
- Once comfortable, attach a lightweight leash to the D-rings.
- Supervise your chicken during outdoor excursions.
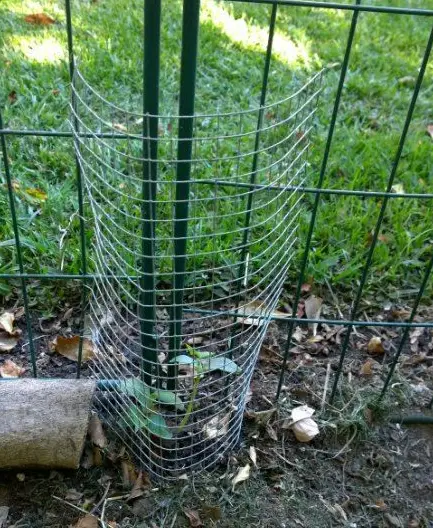
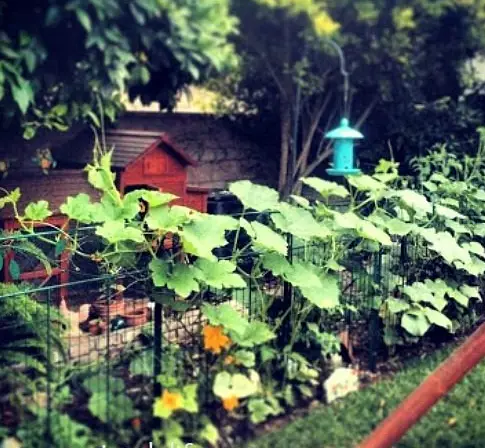
7. Vertical Chicken Garden for Fresh Greens
Materials:
- Vertical garden planter
- Chicken-friendly plants (kale, spinach, herbs)
- Potting soil
- Watering can
Steps:
- Select a Vertical Garden Planter:
- Choose a vertical planter suitable for mounting on your coop or run.
- Fill with Potting Soil:
- Fill each pocket of the vertical planter with potting soil.
- Plant Chicken-Friendly Greens:
- Plant chicken-friendly greens such as kale, spinach, and herbs in each pocket.
- Secure the Planter:
- Mount the vertical planter securely in your coop or run.
- Monitor Growth:
- Water the plants regularly and monitor their growth.
- Ensure they are accessible to your chickens.
- Rotate and Replace Plants:
- Rotate plant varieties to provide variety.
- Replace plants as needed to ensure a continuous supply of fresh greens.
8. Eggshell Mosaic Art for Coop Decor
Materials:
- Cleaned and crushed eggshells
- Craft glue
- Base for mosaic (wood, plastic, etc.)
- Grout
- Sealant (optional)
Steps:
- Clean and Crush Eggshells:
- Collect and clean eggshells thoroughly.
- Crush the eggshells into small, uniform pieces.
- Prepare the Base:
- Choose a base for your mosaic, such as a wooden board.
- Ensure the base is clean and dry.
- Design the Mosaic:
- Plan the design or pattern you want to create with the crushed eggshells.
- Apply Craft Glue:
- Apply craft glue to a small section of the base.
- Begin placing the crushed eggshells on the glue, following your design.
- Continue Building the Mosaic:
- Work in sections, applying glue and arranging the crushed eggshells until the entire design is complete.
- Allow to Dry:
- Allow the mosaic to dry completely, ensuring all eggshells are securely attached.
- Apply Grout:
- Apply grout between the eggshells, pressing it into the spaces to create a cohesive surface.
- Wipe off Excess Grout:
- Wipe off excess grout with a damp sponge, revealing the mosaic design.
- Optional Sealant:
- Optionally, apply a sealant to protect the mosaic from moisture and enhance its longevity.
- Install in the Coop:
- Once fully dried and sealed, install the eggshell mosaic in your coop for a unique and artistic touch.
9. DIY Chicken Toy Obstacle Course
Materials:
- PVC pipes and connectors
- Chicken-safe obstacles (small logs, ramps, tunnels)
- Chicken treats
- Drill
- Zip ties
Steps:
- Plan the Obstacle Course:
- Design a simple obstacle course layout using PVC pipes and chicken-safe obstacles.
- Cut and Assemble PVC Pipes:
- Cut PVC pipes to the desired lengths for hurdles, tunnels, and jumps.
- Assemble the PVC pipes into the planned course design using connectors.
- Attach Chicken-Safe Obstacles:
- Incorporate chicken-safe obstacles such as small logs, ramps, and tunnels into the course.
- Secure with Zip Ties:
- Use zip ties to secure obstacles to the PVC frame, ensuring stability.
- Add Treat Stations:
- Place treat stations at various points along the course to motivate your chickens.
- Introduce Chickens to the Course:
- Allow your chickens to explore the obstacle course gradually.
- Use treats to guide them through each section.
- Encourage Physical Activity:
- The obstacle course promotes physical activity and mental stimulation.
- Observe your chickens enjoying the challenges of the course.
10. Mobile Chicken Coop on Wheels
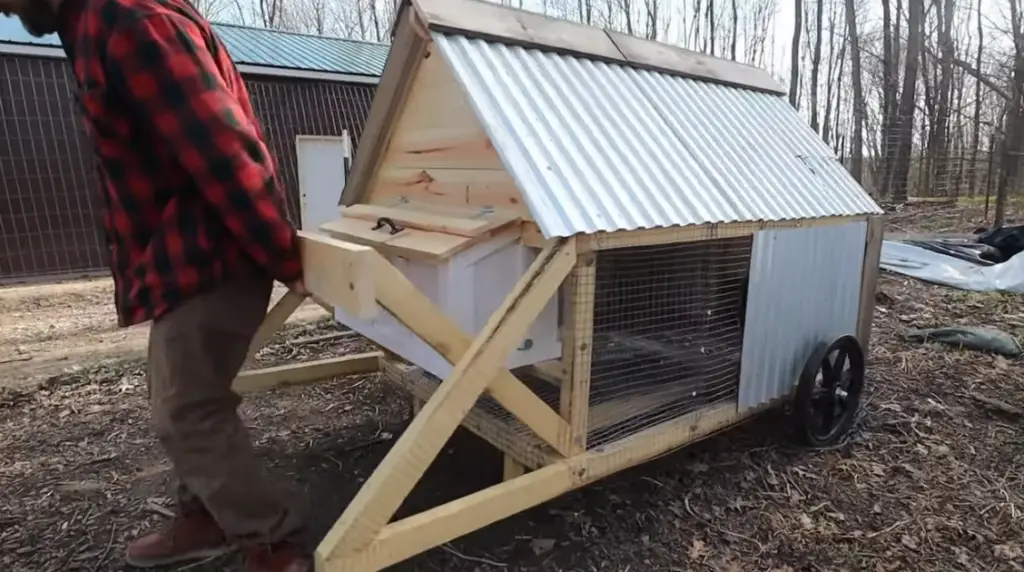
Materials:
- Wooden frame or structure
- Wheels
- Chicken wire or mesh
- Roofing material (shingles, corrugated metal)
- Latches
- Handles
Steps:
- Build the Coop Structure:
- Construct a sturdy wooden frame or structure for the coop.
- Attach Wheels:
- Attach wheels to the bottom of the coop for mobility.
- Ensure the wheels are suitable for the coop’s weight.
- Install Chicken Wire or Mesh:
- Cover the sides and openings of the coop with chicken wire or mesh.
- Ensure proper ventilation and visibility.
- Add a Roof:
- Install roofing material to protect chickens from the elements.
- Use shingles or corrugated metal for durability.
- Secure Latches:
- Install latches on doors and openings to secure the coop during transport.
- Ensure doors are predator-proof.
- Add Handles:
- Attach handles to facilitate easy pushing or pulling of the mobile coop.
- Ensure handles are securely fastened to the structure.
- Test Mobility:
- Test the mobility of the coop to ensure it moves smoothly.
- Check for any issues with the wheels or structure.
- Move to Different Areas:
- Move the mobile coop to different areas of your yard to provide fresh foraging space for your chickens.
- Monitor the impact on the land and adjust as needed.
Conclusion
These top 10 craziest chicken DIY projects from the 21st century not only showcase the ingenuity of chicken enthusiasts but also provide practical solutions and entertainment for both keepers and their feathered friends.
By following these step-by-step guides, you can embark on exciting and creative chicken-keeping adventures, adding a personalized touch to your coop and strengthening the bond with your flock. Whether it’s enhancing their living space, providing mental stimulation, or incorporating sustainable practices, these projects contribute to a vibrant and enjoyable chicken-keeping experience in the modern era.
Shannon Stansberry has been engaged in the business of raising chickens for more than 12 years. In 2016, she accomplished the Agriculture & Natural Resources program at Mt. San Antonio College. At present, she tends to more than 80 chickens on her 4-hectare farm. Shannon regularly shares her insights and experience on how to raise healthy and contented chickens on the platform Typesofchickens.com
