In my quest for a more sustainable lifestyle, embarking on vermicomposting has been the most fulfilling and enlightening experience.
What started as an inquisitiveness about kitchen garbage recycling turned into a passion for nutrient-rich composting from tiny earth-dwelling friends; these are worms.
This idea first came up while discussing casually with friend who was already deep into composting. During our conversation about turning food waste into gold for the garden, I was introduced to vermicomposting.
The concept that worms could be of assistance in recycling kitchen waste and reducing landfill use by producing great humus material fascinated me greatly. It seemed like a win-win situation that fit perfectly with my growing desire to live responsibly towards nature.
However, as is common with any new venture, I had several questions and doubts from within. But how hard was it to setup a vermicomposting system? Would it smell? Was it possible at all especially in a small apartment where there is no backyard?
I decided to find out by plunging into research- reading articles, watching tutorials online as well as joining forums of like-minded people who were interested in vermicomposting. The more I learned, the more excited I got instead of feeling nervous.
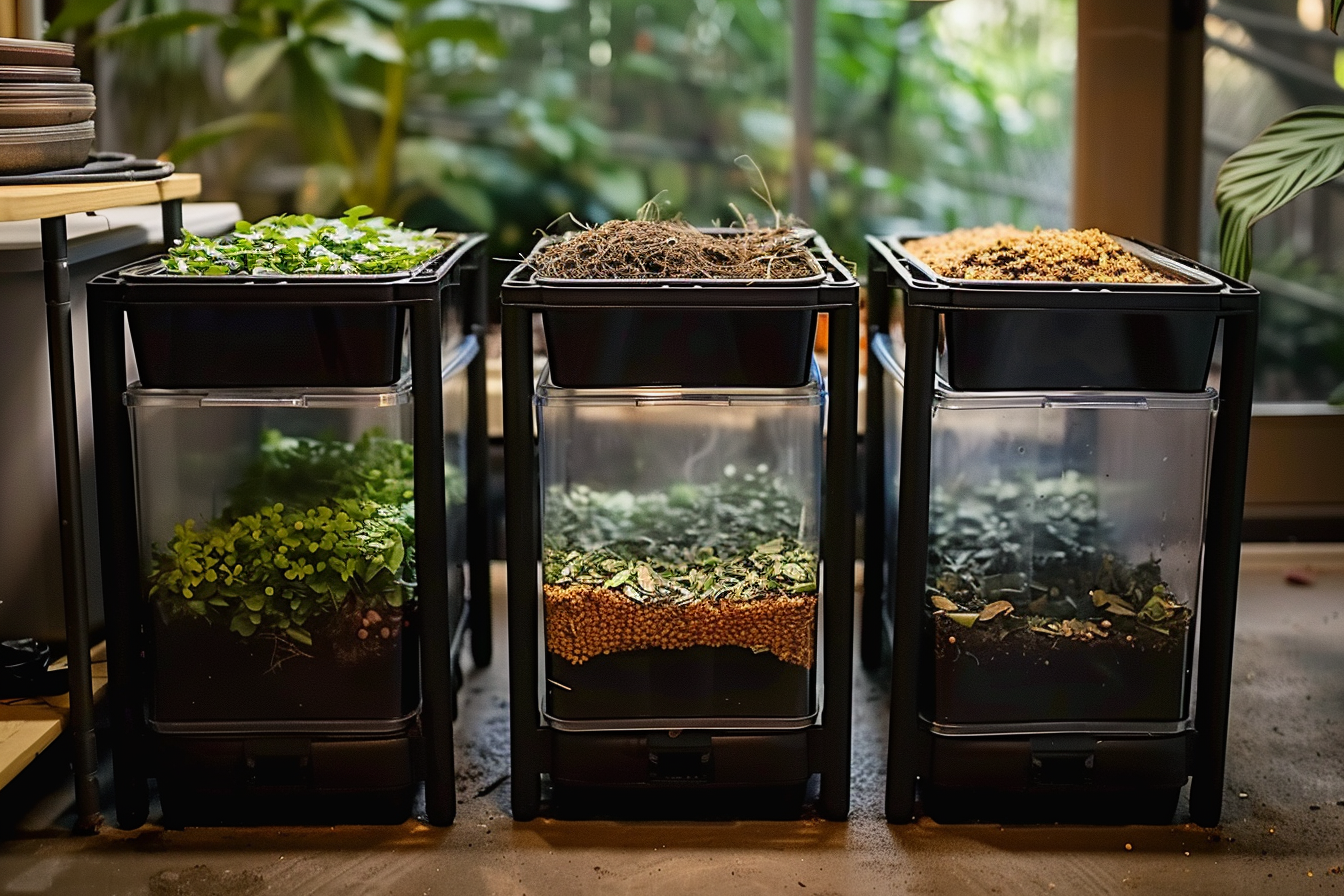
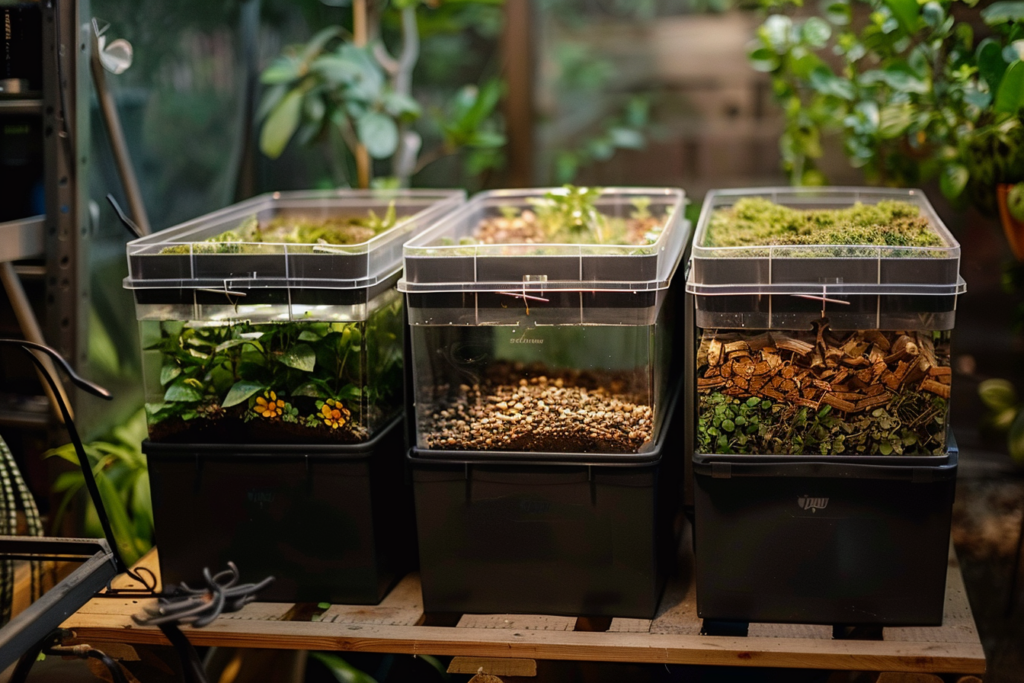
Starting with something simple yet efficient like three tote-systems felt right at the time. Collecting materials made this vision of composting seem realizable and tangible.
Each tote made up of plastic, drill bit, cooler drain signified what soon would become my own environmental friendly factory for compost production. Aeration holes drilled, drainage done and finally the worms introduced to their new home left me feeling deeply connected to life’s cycle in terms of perpetuating sustainability.
Seeing these worms thrive and transform my kitchen garbage was nothing short of miracle happening before my eyes! With every fruit peel or coffee ground or vegetable scrap dropped inside the tote acting defiantly against throwaway culture which permeates our society.
Later, when I harvested my first batch of compost: black gold, teeming with life and witnessed the difference it made in my plants; there was no looking back.
Vermicomposting had become more than just a hobby; it was a meaningful statement about the kind of world I wanted to live in and leave for future generations.
It has been a learning experience from understanding what makes up the green and brown materials to achieving an odorless and efficient system.
Besides, it has taught me patience, adopt nature’s way of doing things and satisfaction derived from making our planet healthier.
My aim here is to share what goes into setting up your own vermicomposting system not only practically but also the contentment and pleasure found when we nurture life at its most basic form thereby changing rubbish into something amazing.
What You’ll Need to Create a Homemade Vermicomposter
• Three tough plastic containers: The best choices are Roughneck types that have proven their durability.
• A lid: To close these containers.
• A cooler drain or some similar tool: This is used for drainage purposes in this system.
• You will use this for creating holes.
• This is for lifting the stand off the ground.
Step-by-Step Guide to Making Your Vermicomposter
1. Prepare Your Containers:
• The first thing you do is drill quarter inch holes a t the bottom of two of your containers; these are important for drainage and for allowing worms to move between different levels of composter.
• Remember also to drill holes around the top edges of these two containers; this provides sufficient air circulation for your worm friends.
2. Set Up the Drainage:
• The third container (the one without holes) will be placed at the bottom to collect drainage. This is where you’ll fit the drain from a cooler, preferably on a recessed part of container.
• The fluid that drains off called “worm tea” is packed with nutrients as it makes a great organic liquid feed for plants in your garden.
3. Put Together Your Vermicomposter:
• Put together stack two drilled containers on top of the drainage container which will have composting action taking place on them?
• In the uppermost container you should begin by adding worms and kitchen scraps into it.
4. Introduce the Worms:
• Gently put your worms into the top container while ensuring they have their bedding and some food scraps to start with!
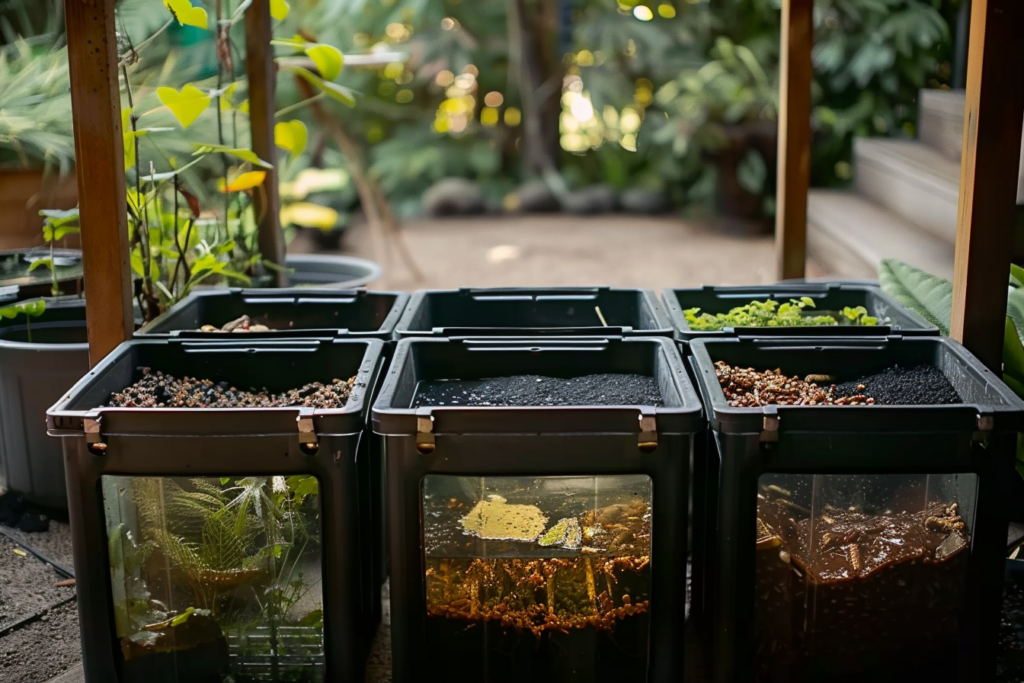
• If you fill up all three containers then switch around –putting full one first bottom, then empty one in middle and finally new top worm bin, thus there’s always active compost layer at top.
5. Maintain and Harvest Your Compost:
• Put more kitchens wastes including bedding materials in the newly created top layer; worms in their natural habitations find themselves going up towards fresher foods leaving their castings (compost) below them!
• When a box is filled with compost but empty of worms, use it in your garden.
• Check frequently if any worm tea has collected in the bottommost container and use this liquid gold for nourishing your plants.
6. Elevate Your Setup:
• Use bricks or blocks to raise the entire system; besides aiding drainage, it makes accessibility much easier.
Frequently Asked Questions about Vermicomposting
What is Vermicomposting?
Vermicomposting refers to the process of decomposing organic waste using worms specifically red wrigglers or European night crawlers. These worms eat kitchen scraps and excrete worm castings which are a very rich form of compost.
Why Should I Start Vermicomposting?
This is an environmentally friendly method of reducing kitchen waste, decreasing your carbon footprint, as well as producing rich compost that can improve the health of your soil and increase plant yield in your garden.
Which Worms Are Best for Vermicomposting?
The most common type of worms used for vermicomposting are red wigglers (Eisenia fetida) due to their adaptability and voracious appetite; alternatively you can use European night-crawlers (Eisenia hortensis).
What Can I Feed My Worms?
Worms can eat nearly all kitchen scraps such as fruit or vegetable peels, coffee grounds, tea bags and eggshells while meats,dairy products,oily foods,and spicy substances should be avoided since these can harm them or cause bad odors around.
How Do I Harvest the Compost?
When the first tier box is full of worm castings and has very few worms, it’s harvest time. At this point, you can transfer the compost to your garden. As food scraps are added, worms naturally move to the upper bin, making it easier for harvesting.
How Often Should I Check the Worm Tea?
Check the bottom tote on a regular basis; once weekly at least so as to collect the tea from worms. This nutrient dense liquid can be blended with water (usually 1:10 ratio of tea to water) and used as powerful liquid fertilizer for plants.
Can Vermicomposting Be Done Indoors?
Yes, vermicomposting can be done indoors without any foul smells if properly maintained. This is an ideal method of composting in apartments or houses with limited outdoor spaces.
What Size Should the Containers Be?
The container sizes will depend on how much kitchen waste you generate. The general rule is that one square foot of surface area can support one pound of worms. For most homes,18-20 gallon bins work best.
How Do I Avoid Odors and Pests?
Maintaining a proper balance between green (nitrogen-rich) and brown (carbon-rich) materials, ensuring enough aeration,and not overfeeding should prevent odours and pests..
